Friday, June 03, 2011

Carrot Embroidery

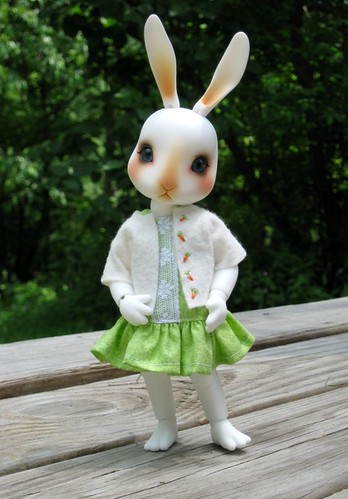
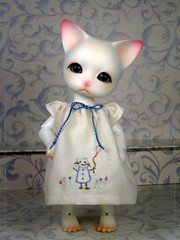
Pipos Curo in carrot embroidery

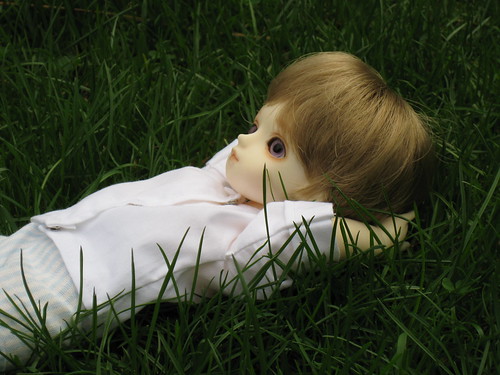
My Curo is modeling a drop-waisted light green cotton sleeveless dress with a wool felt embroidered jacket. I made two of this dress and put one on etsy, but the one on etsy has a blank front. Whoever purchases it can specify what they would like embroidered on the jacket front.

Monday, May 30, 2011

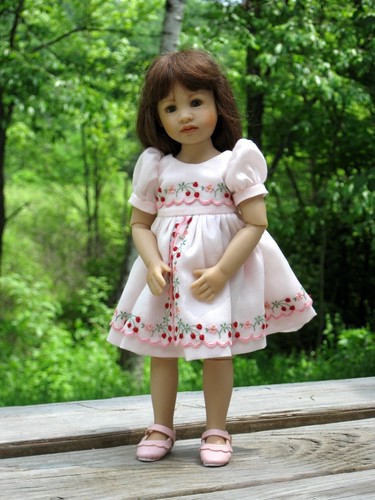
Charlotta Plusczok

Here is my Charlotta, by Heidi Plusczok. I redressed her in a dress made by Janet Wysong. She's a beautiful doll and has the new joints that Heidi made for this year's line.

Sunday, May 29, 2011

We are 3 weeks old!

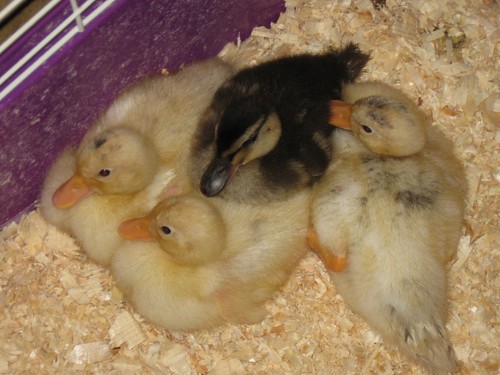
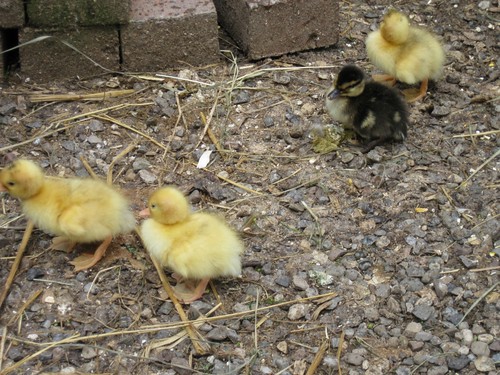
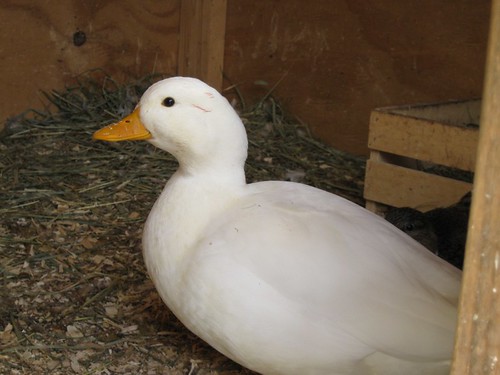
My little ducklings are growing fast! They are now three weeks old and they have to come inside at night because we separated them from Roger, since he decided they were competition and that he needed to bite them. Mean Daddy! He will visit with them through their pen fence, though. Mommy ducky still loves them. They now take two hands to lift up! They grow visibly day to day, and sometimes even from morning to evening! They are just starting to get tail feathers. I will get nicer photos sometime if it ever stops raining around here.

Sunday, May 15, 2011

Clarissa Joy

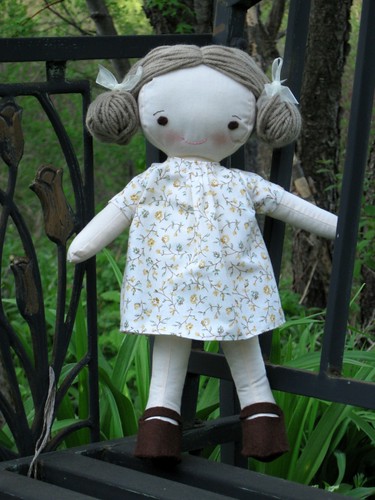
My niece, Jewel, asked me to make her doll a little friend for her birthday. I used the Wee Wonderful's Chloe, Kit and Louise pattern to make a new little doll. Her name is Clarissa Joy and she enjoys playing outside, nature walks and looking at butterflies!

Saturday, May 07, 2011

And then there were four!


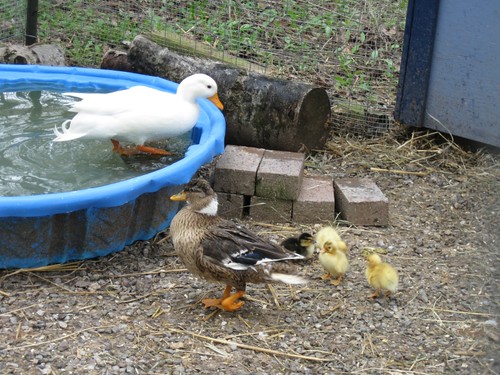
The little dark brown one was hatched sometime during the night.  He's cute!  They all are.  I don't think that the two remaining eggs will hatch.  Hattie is still keeping one of them warm, though, so we'll see.  She has rolled the other remaining egg out of the nest.  The babies have already gotten into trouble--one popped through a tiny hole in the fence and was wandering around with the chickens and squeaking.  Luckily I was outside when that happened.  I'm not sure what the chickens would have done to him.  I've found all the holes now and there should be no more episodes like that.  Roger is not sure what to think of the babies.  If they run at him, he runs away, but other times he tries to push them around with his beak.  Daisy just ignores them and keeps out of their way.  It's too much commotion for her!  Here is the family when Hattie came out to get something to eat and drink.  Such a cute little family!

Hattie, Roger and Children

Friday, May 06, 2011

More ducklings!

SO CUTE!  I adore them!


Three more eggs are left and obviously, one is in mid-hatch right now.  That little guy is moving around nicely, so I expect more kids soon.  These little guys are just so cute.  I will try to post a video at some point.  They bounce around and scare the big ducks.  It's hilarious.

Thursday, May 05, 2011

Duckling!

There's a little duckling this afternoon in the nest!  Hopefully he's healthy and will do ok--he's peeping.  Hattie won't let me look at him much, but he's pretty cute.  Sorry about the poor picture!  I didn't want to disturb them too much.

Monday, May 02, 2011

Rosen Lied Arina

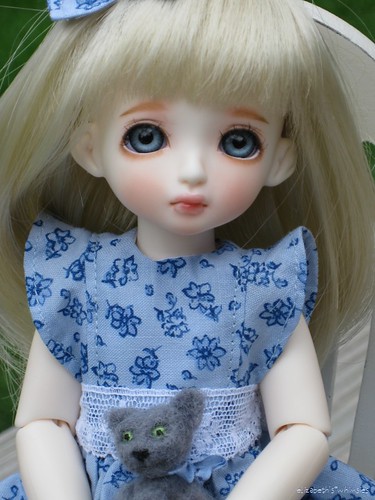
Rosen Lied Arina by elizabeth's*whimsies
Rosen Lied Arina, a photo by elizabeth's*whimsies on Flickr.
She arrived and she's so pretty! I got this doll from a fellow collector who was letting her go. She's perfect and has beautiful face paint. She's posing here with a little felted kitten I made.  Her name is Samantha.

Sunday, May 01, 2011

Hattie

Hattie, nesting

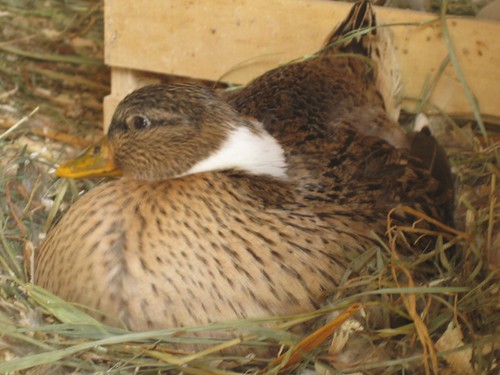
Hattie is expecting.  She is sitting on 7 eggs.  I'm not sure if any of them will hatch, or who on earth I will give them to if they do hatch, but I didn't have the heart to throw them out.  Roger has been very devoted to Hattie and here is trying to protect her from the camera.


Roger, guarding Hattie


What you can't see here is that Roger is quacking his head off at me!  And his head has some sort of dirt smeared on it; don't worry, it's not blood.  He just likes to be dirty and had his head in the mud this morning.

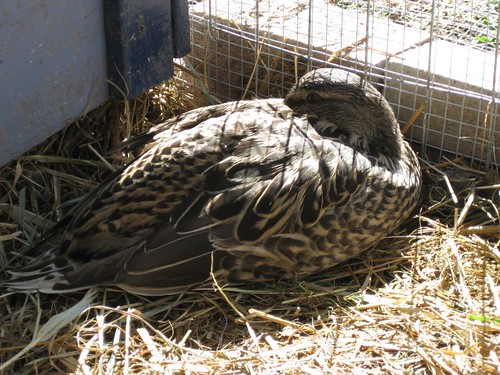
And here is Daisy's opinion on it all.

Daisy, sleeping

Thursday, April 28, 2011

A New Rosen Lied Doll

Xander side view by elizabeth's*whimsies
Xander side view, a photo by elizabeth's*whimsies on Flickr.
I just adore all of Rosen Lied's Tuesday's Children. This is the model Poppy. I named mine Xander. I also received Arina the other day, too, and will be posting photos as soon as I have a few minutes to make her an outfit. A kind person on a BJD forum was selling the two and I snapped them up! I'm so glad I did!

Thursday, April 07, 2011

Finally, It's Spring!

Crocuses by elizabeth's*whimsies
Crocuses, a photo by elizabeth's*whimsies on Flickr.

After an absolutely unending winter (who knows, it'll probably snow again next week!) we finally have crocuses up. According to my camera photos from last year, we had crocuses a full two weeks earlier last year! But they're so pretty, whenever they decide to poke through the landscape. They provide a bright splash of color on the brown and muddy lawn.

The chickens have churned their fenced area up into a giant mud soup. I used temporary fencing today to block them out of their mudhole and re-seeded it so hopefully we will have some grass this summer in there! Naughty ladies! They also unplanted my peas and spinach only 24 hours after I planted it! Luckily, I will be making a taller garden fence to keep my flighty birds out!

Thursday, March 31, 2011

Thrifted Goodness and a Sad Quilt

Teacup and Doilies

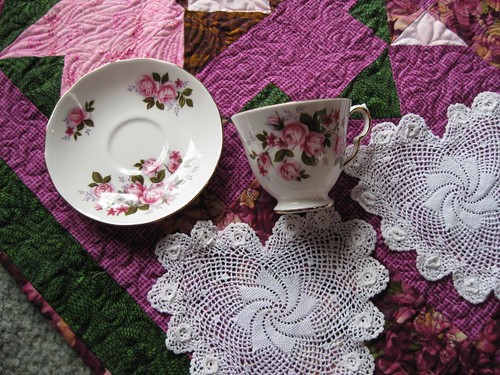
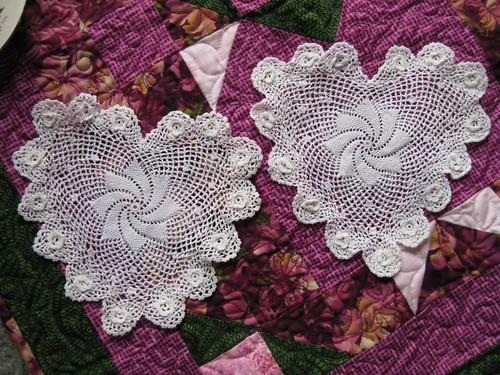
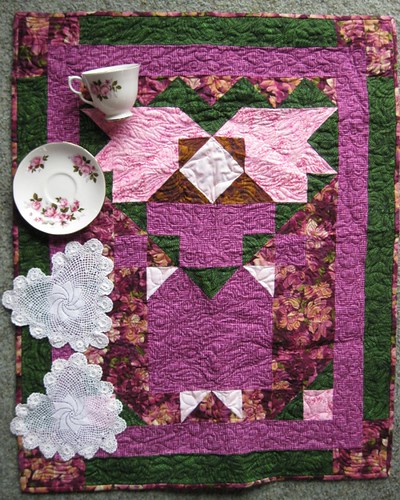
I went to the thrift store today while Aaron was at physical therapy and I came home with some great things.  Our thrift store is very iffy--sometimes I get great stuff and other times it's a wasteland.  I found this fabulous teacup on my second pass down the dishes area, and the crocheted doilies were hanging clipped together near some place mats.  The doilies are very finely done.  Can you imagine the time someone put into them?


I found this quilt, too.  It made me so sad that someone took this beautiful quilt that this lady lovingly made for a family member and donated it to the thrift store.  I wonder why?  So many hours and such beautiful colors...it was made in 2007 and was signed by the original quilter.  It will have a good home with me.  I'll appreciate every stitch.

Quilt and vintage pretties

Saturday, March 26, 2011

Regency-Inspired

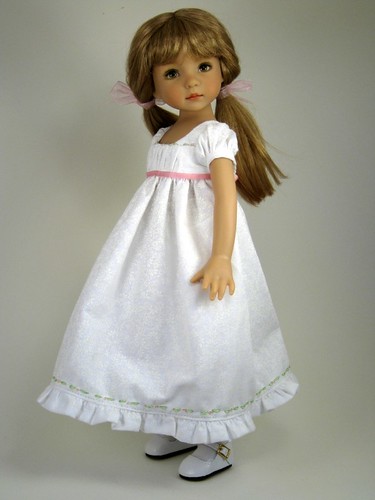
Emma Leigh Addison is wearing a Regency-inspired dress that I finally finished last night. It's made in white-on-white cotton print and there are little matching pantalets beneath. The pattern was modified from a pattern in Storybook Clothes for Dolls by Londie Phillips. I made the neckline deeper and the waist higher. I hand-embroidered a little line of rosebuds along the hem, the bodice and the pantalet cuff.

Thursday, March 24, 2011

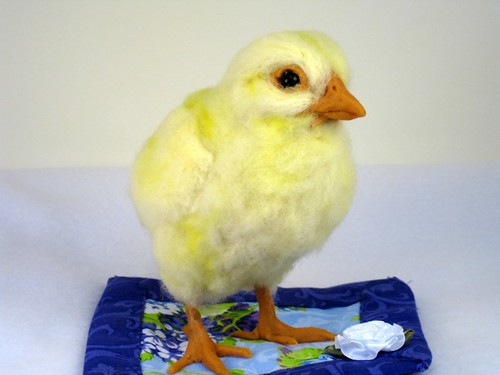
Chick Sculpture

Chick sculpture by elizabeth's*whimsies
Chick sculpture, a photo by elizabeth's*whimsies on Flickr.
I had Robin Andreae make me this needle-felted chick sculpture. The chick lives in my craft room and makes me giggle!  Robin is a talented artist and has an array of great and unique animal sculptures available on ebay.  I love her work!

Sunday, March 13, 2011

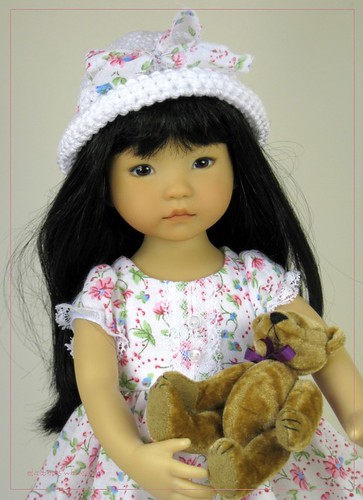
Zoe in Spring Floral

As the winter lingers and lingers and lingers here (it's snowing outside AGAIN), I wanted to see something spring-like. I ordered some new calico from Fabric.com and made up this little frock for Zoe. I crocheted the hat and ran a single strip of unfinished fabric through it for a bow. This isn't the best of photos and in fact, I will probably be re-shooting it eventually (I don't like the lighting) but I wanted to share the picture anyway.  If you click on the photo and go to flickr, there are a few other views of the dress.

We had some chicken excitement here this past week. I went out on Thursday afternoon to check on the ladies and noticed some odd holes dug into the bedding in their coop. I thought it must have been a chipmunk or something looking for seeds, but when Aaron went back out about 45 minutes later to check on them, there was an opossum in their coop! He was young and sluggish. Aaron used a stick to shoo him out, but the ladies were so terrified! Aaron had to dump a whole scoop of scratch onto the floor to get them back into the coop. They went to bed that night, nervous, while the 'possum dug around under their coop. I could hear him scratching when I checked on them around 9. I went back out at 11:30 (not much sleep for me that night!) and he had pushed open the run door where the hinge is loose because of all the ice buildup and gotten into the run and was eating up their feed! I yelled at him so loud that the dog across the marsh started barking. He ran, and I haven't seen him since, although we have had a Havahart trap baited out there for two days. Hopefully we catch the little bugger soon. Don't worry, I won't kill him, just move him to a safer area of our land, OUTSIDE our chickens' fence.

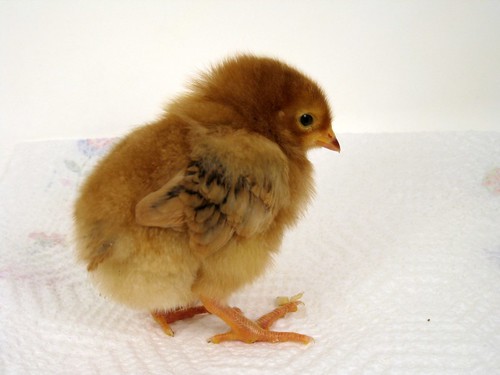
Just for fun, here's either Rhoda or Tildy (Matilda) when she was a baby.  It was before I banded them, so I don't know which one of them it is, but isn't she cute?!  Prudy was trying to sit on my lap today when went outside to do the morning chores.   She wants chicken hugs!  I want the snow to melt so the ladies can go play in their yard!

Rhoda or Matilda as a chick

Sunday, February 27, 2011

Fluffy Stuffy Bunny in Pink

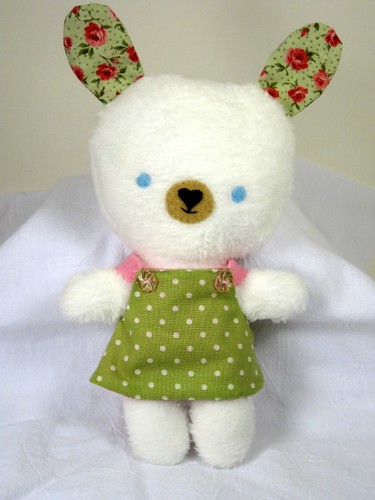
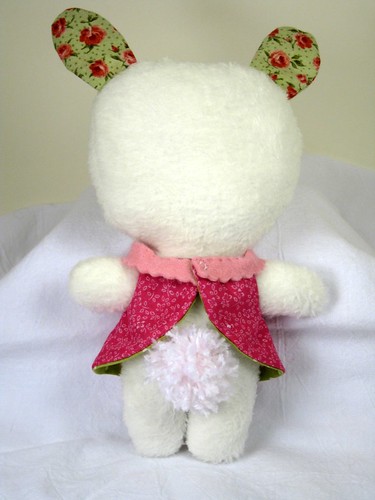
This little soft bunny is made from a pattern by Jenny B. Harris. She shared the pattern and the dress pattern, free, on her blog, Allsorts. I had to make it--it was so cute! I'll give her to my niece for her birthday that's coming up. She was fun to make and very quick and easy, too!  Her dress is reversible.

Fluffy Stuffy Bunny

Even her tail is cute.

Fluffy Stuffy Bunny Back

Friday, February 25, 2011

Dawn's Little Sweater

I finally finished this little sweater. It takes me forever to knit anything. I made the little dress in November or so and started the sweater to go with it. I paused for making Christmas gifts and then just recently finished up the sweater. It has little half-sleeves and it's made of 100% wool.

Sunday, February 20, 2011

Spring Green E-Reader Cover and other Crafty Goodnesses

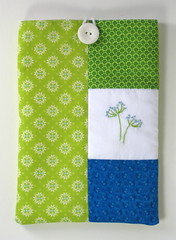
Here's another version of the Kindle cover, made for my little sister's Sony E-Reader. The embroidery detail is a motif from Aimee Ray's Doodle Stitching: The Motif Collection.  The fabrics are 100% cotton quilting fabrics and the lining is white cotton.  It reminds me of spring, which I hope is on the way soon after all this cold weather!  We had a brief respite from winter with two days that were above freezing, but yesterday winter returned with a vengeance and it snowed and blew all day.  The wind knocked a tree down on my chicken's fence, which will have to be repaired in the spring when all this dreadful snow melts.  For now, I'll take inspiration from lovely springy green fabric!

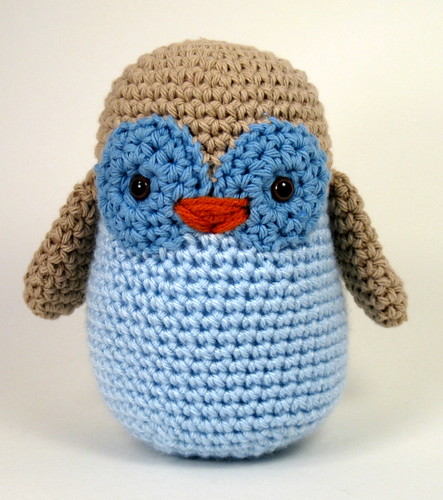
I also wanted to show a few more photos.  I made a crocheted owl toy for my new niece or nephew who will be born this summer.

Amigurumi Owl

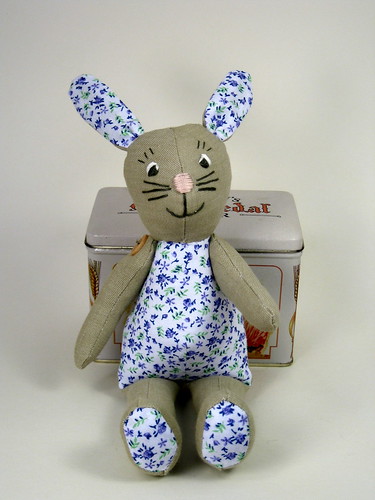
And I made a new bunny for my other niece, who loved her first one to death!

Bunny


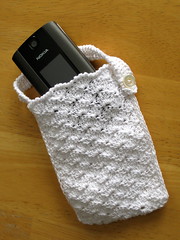
Lacy crocheted cell phone case

I made this a few weeks ago. I modified a pattern from Kyuuto! Japanese Crafts!: Lacy Crochet. I left off the side gusset, as my cell phone is small enough that it didn't need that extra room. I closed mine with a vintage button.

Thursday, February 10, 2011

Ringo in Happy Kitty Dress

I had cut out the pieces for this little dress months ago but didn't have time to make it up. This past weekend, I finally had a little time to work on it. It fits Ringo nicely and also fits my little 6" Kish babies, too.

Saturday, February 05, 2011

Patchwork Kindle Cover Tutorial

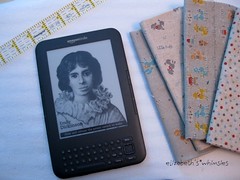
Kindle Cover

I haven't been able to bring my Kindle anywhere because I'm afraid it will get scratched.  Today, I decided to make a sleeve for it and decided to photograph the steps and present it as a tutorial in case anyone else wants to make one.  So here goes!


Patchwork Kindle Cover

This cover has a finished size of 8.5 x 6 inches and fits a Kindle 7.5 x 5 inches or a similar-sized e-reader. The seam allowances are ¼ inch unless otherwise stated.  Click on the images to see them full-sized on Flickr.

Materials:
IMG_2027


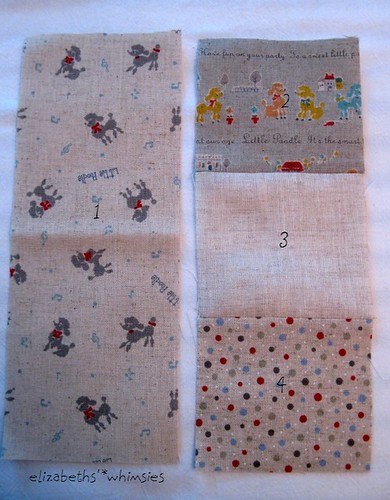
  • four or five different fabric prints (I used coordinating Japanese linens)
  • one 12.5 x 9 inch fabric piece for lining(I used plain linen)
  • thin cotton batting at least 13 x 9.5 inches
  • 3/4” button
  • 4” of cotton yarn or twine
  • sewing supplies (machine, iron, thread, pins)

Procedure:

IMG_2033
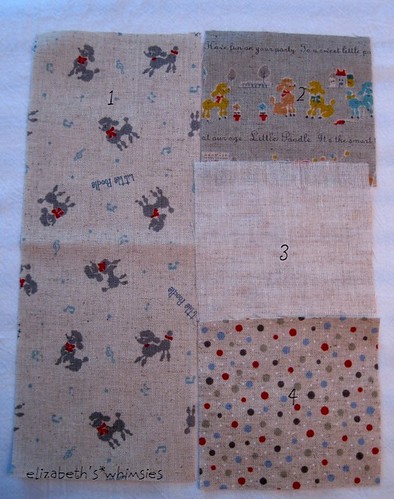
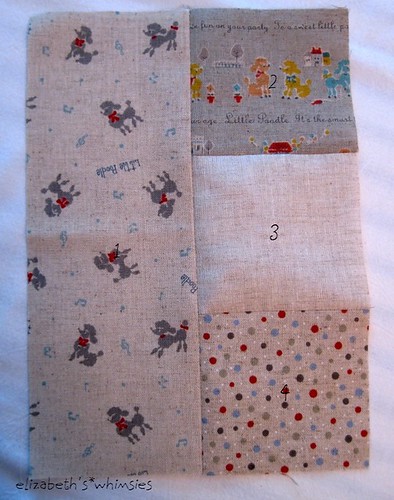
1.  Cut a long piece for the left side of the front 9 inches long x 3.5 inches wide from one print and then from three different prints, cut two pieces 3.25 inches long x 3.5 inches wide and one last piece 3.5 x 3.5 inches.

2.  Cut your lining piece 12.5 x 9 inches and cut the back print 6.5 wide x 9 inches long.

IMG_2028


3.  Right sides together, sew piece 2 to piece 3. Press the seam open.
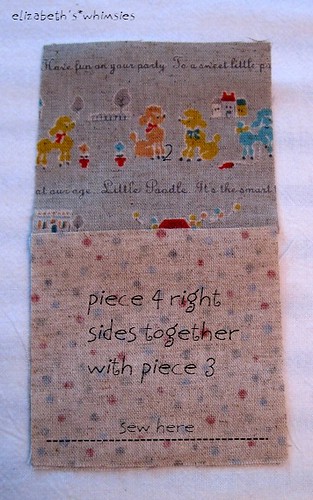
4.  Align piece 4 right sides together with the unit you just made (piece 2 and 3) and sew the seam as marked in the photo and press the seam open.


IMG_2031

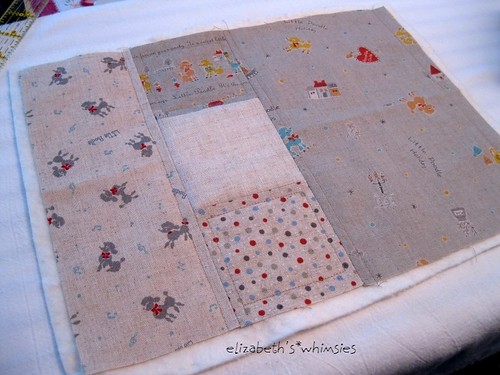
5.  Align piece 1 right sides together with the patchwork strip you just created. Sew the long seam between the pieces and press the seam open. You have now completed the patchwork front.


IMG_2035
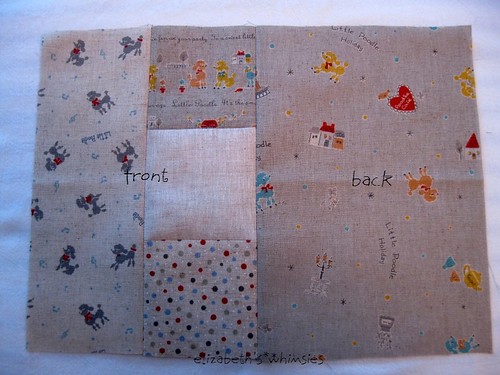
6.  Place the front piece right sides together with the back piece and sew the seam between the two to form a single unit as seen in the photo.

IMG_2038


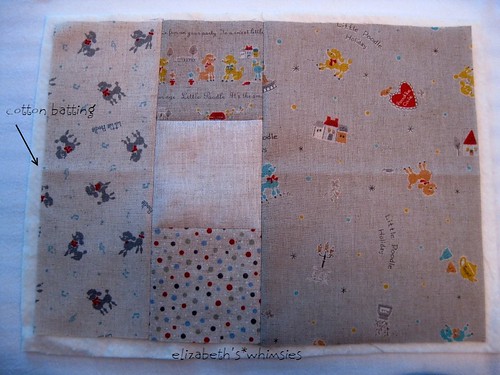
7.  Place your sewn front and back on top of your piece of cotton batting, allowing the batting to stick out at least ½ inch all around.

IMG_2039
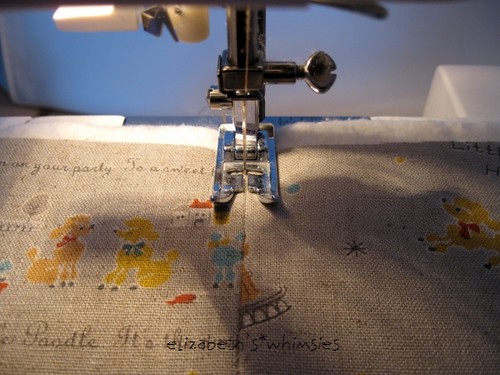
8.  Quilt however you want. I quilted “in the ditch” on the seam between the front and back and then quilted ¼ inch inside the squares on the front. Once you are done quilting, trim the excess batting even with the quilted top.

 IMG_2041
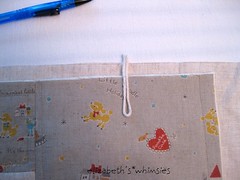
9.  Cut a 4” piece of cotton yarn or twine and fold it in half. Center it on the top of the back piece and pin it into place. This will be the loop for your button.  Leave the twine sticking about 3/4 inch past the fabric, as shown below.  You will trim the extra off later.

IMG_2042

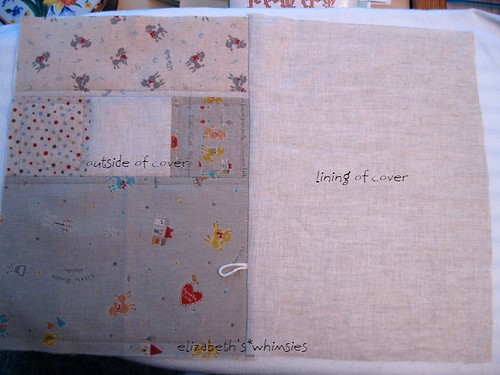
10.  Place the lining piece (plain linen here) right sides together with the outside of the cover and sew the seam along the top of the bag, making sure to catch your pinned yarn/twine in the sandwich. Trim the seam about 1/8” from the stitch line to reduce bulk and iron open.


11.  Place the sewn unit down on your work surface in the orientation above and fold it in half lengthwise to make a long tube as seen below.
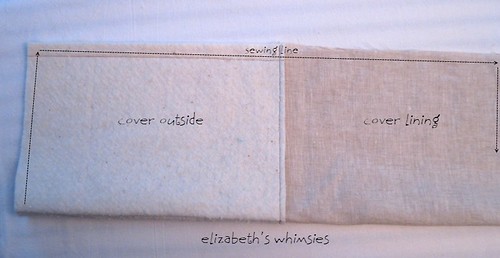
IMG_2044

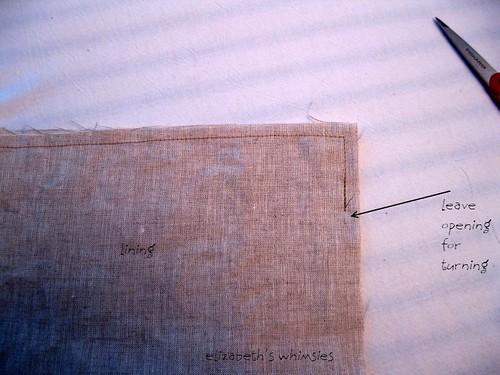
12.  Sew around, starting with the outside of the cover and using a ¼ inch seam allowance. Continue sewing all around the outside to the lining but leave about 3 inches or so on the bottom of the lining to turn the cover as seen here. 
IMG_2045


IMG_2046

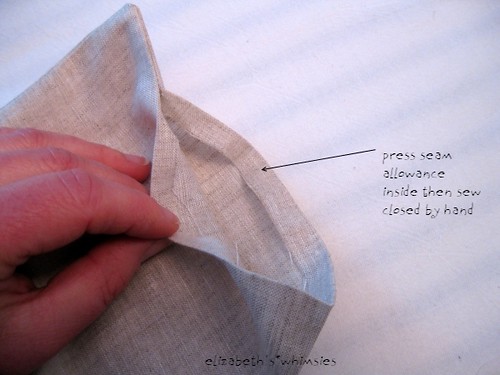
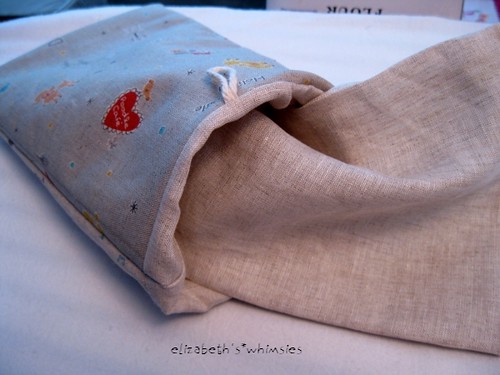
13.  Turn.  Press the seam allowance to the inside and sew the lining closed by hand using ladder stitch.
IMG_2047

14.  Tuck the lining inside the case and iron to neaten everything up.

IMG_2049

15.  Then, top stitch around the top of the case to hold everything securely together.
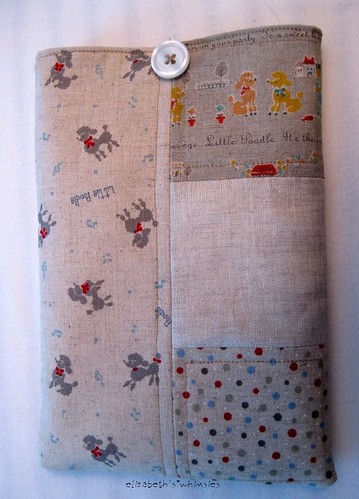
16. Sew your button on the front by hand. I used doubled thread that I waxed by running it through a hunk of beeswax. I find it is more durable that way.
IMG_2050

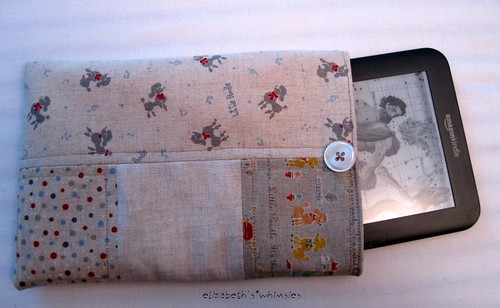
Put your Kindle inside and close the top button!
IMG_2051

Your case is complete! Off you go, scratch free!

Edited to add (May 11, 2011):  If you use this to pattern to sell Kindle covers on etsy or otherwise, a word of credit would be great.  It has been brought to my attention that etsy is flooded with Kindle covers from my tutorial and I see none that have mentioned where the pattern was obtained.  I don't mind, just please don't claim the credit for inventing the pattern yourself.  Also, do not copy these directions, make them into a tutorial and sell the pattern on etsy.  That's just lame, people.