I haven't been able to bring my Kindle anywhere because I'm afraid it will get scratched. Today, I decided to make a sleeve for it and decided to photograph the steps and present it as a tutorial in case anyone else wants to make one. So here goes!
Patchwork Kindle Cover
This cover has a finished size of 8.5 x 6 inches and fits a Kindle 7.5 x 5 inches or a similar-sized e-reader. The seam allowances are ¼ inch unless otherwise stated. Click on the images to see them full-sized on Flickr.
Materials:
- four or five different fabric prints (I used coordinating Japanese linens)
- one 12.5 x 9 inch fabric piece for lining(I used plain linen)
- thin cotton batting at least 13 x 9.5 inches
- 3/4” button
- 4” of cotton yarn or twine
- sewing supplies (machine, iron, thread, pins)
Procedure:
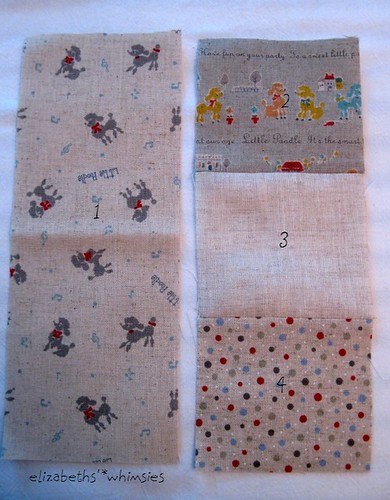
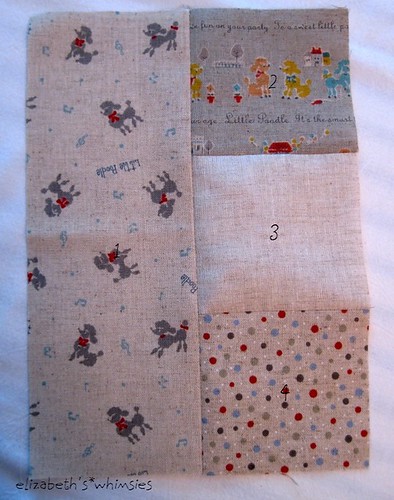
1. Cut a long piece for the left side of the front 9 inches long x 3.5 inches wide from one print and then from three different prints, cut two pieces 3.25 inches long x 3.5 inches wide and one last piece 3.5 x 3.5 inches.
2. Cut your lining piece 12.5 x 9 inches and cut the back print 6.5 wide x 9 inches long.
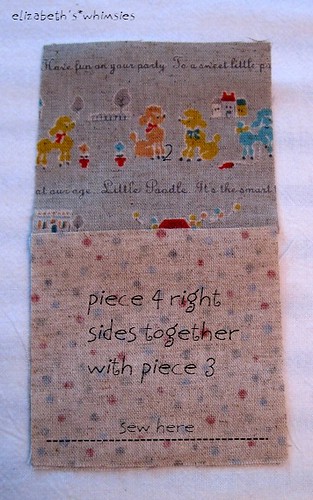
3. Right sides together, sew piece 2 to piece 3. Press the seam open.
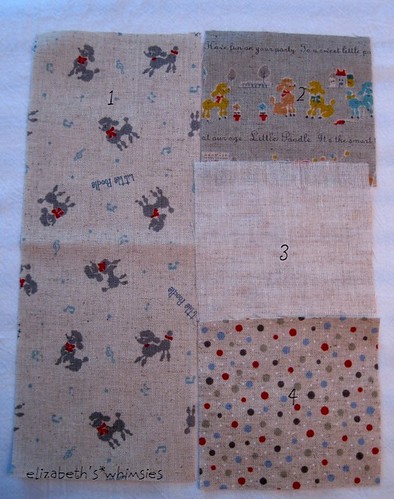
4. Align piece 4 right sides together with the unit you just made (piece 2 and 3) and sew the seam as marked in the photo and press the seam open.
5. Align piece 1 right sides together with the patchwork strip you just created. Sew the long seam between the pieces and press the seam open. You have now completed the patchwork front.
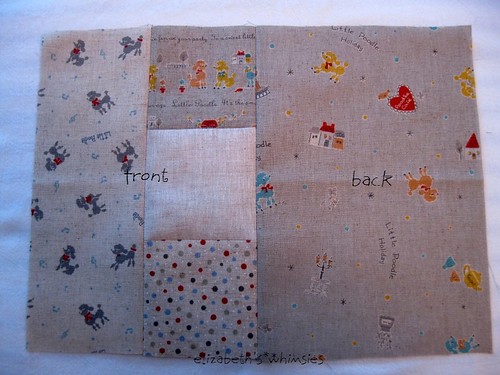
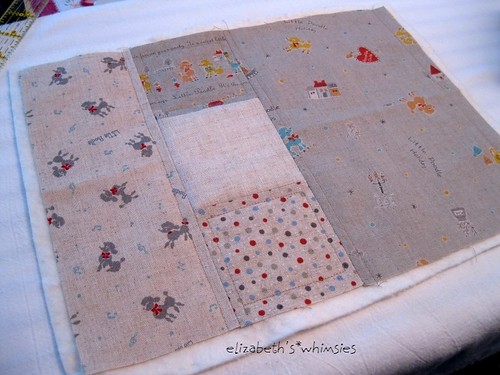
6. Place the front piece right sides together with the back piece and sew the seam between the two to form a single unit as seen in the photo.
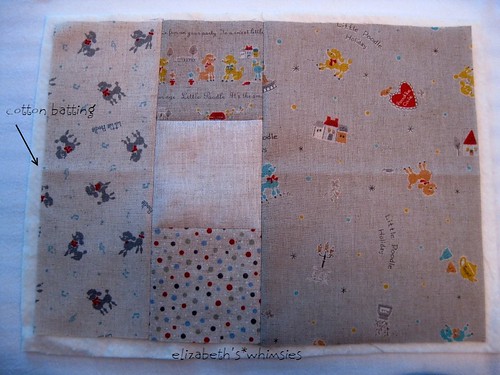
7. Place your sewn front and back on top of your piece of cotton batting, allowing the batting to stick out at least ½ inch all around.
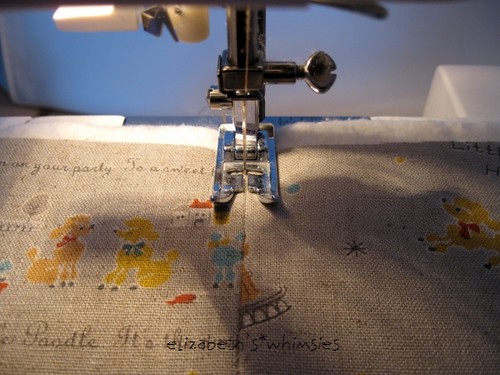
8. Quilt however you want. I quilted “in the ditch” on the seam between the front and back and then quilted ¼ inch inside the squares on the front. Once you are done quilting, trim the excess batting even with the quilted top.
9. Cut a 4” piece of cotton yarn or twine and fold it in half. Center it on the top of the back piece and pin it into place. This will be the loop for your button. Leave the twine sticking about 3/4 inch past the fabric, as shown below. You will trim the extra off later.
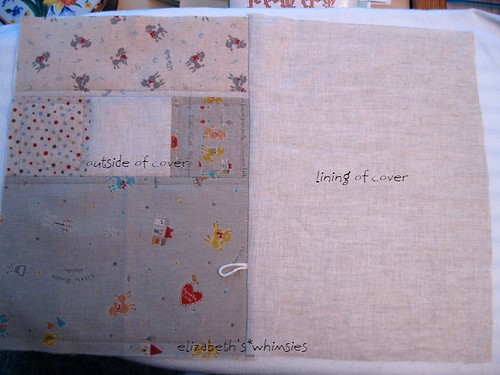
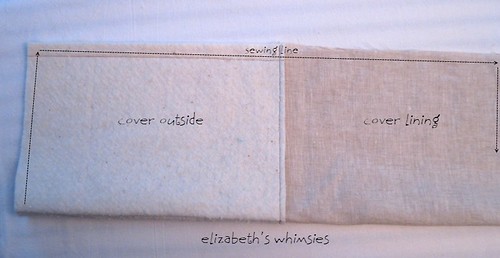
10. Place the lining piece (plain linen here) right sides together with the outside of the cover and sew the seam along the top of the bag, making sure to catch your pinned yarn/twine in the sandwich. Trim the seam about 1/8” from the stitch line to reduce bulk and iron open.
11. Place the sewn unit down on your work surface in the orientation above and fold it in half lengthwise to make a long tube as seen below.
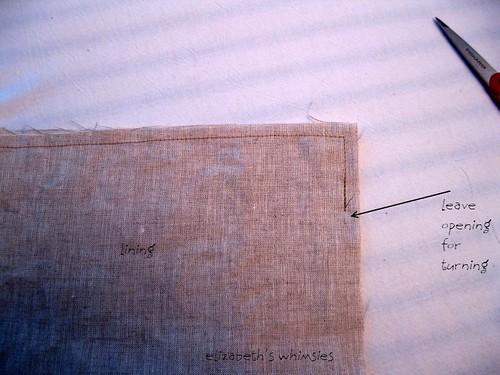
12. Sew around, starting with the outside of the cover and using a ¼ inch seam allowance. Continue sewing all around the outside to the lining but leave about 3 inches or so on the bottom of the lining to turn the cover as seen here.
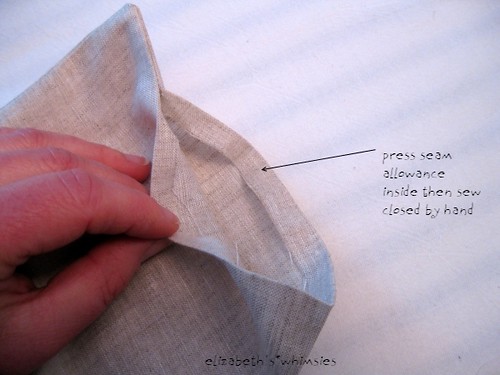
13. Turn. Press the seam allowance to the inside and sew the lining closed by hand using ladder stitch.
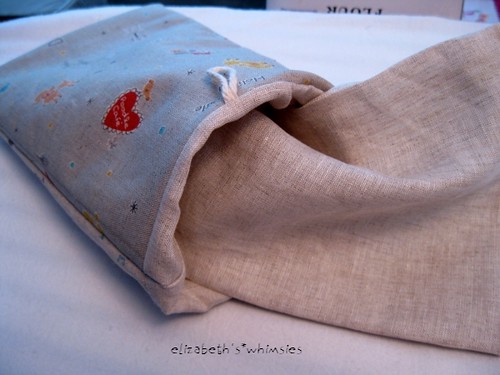
14. Tuck the lining inside the case and iron to neaten everything up.

15. Then, top stitch around the top of the case to hold everything securely together.
16. Sew your button on the front by hand. I used doubled thread that I waxed by running it through a hunk of beeswax. I find it is more durable that way.
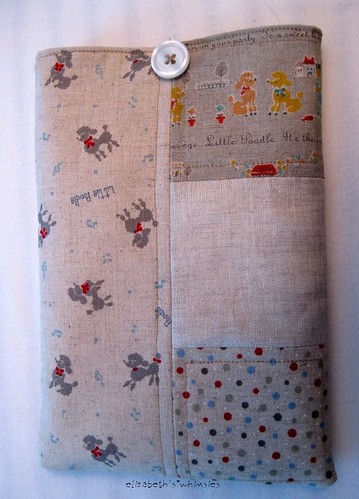
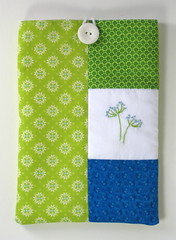
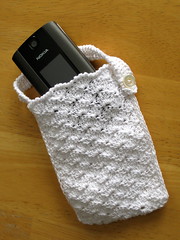
Put your Kindle inside and close the top button!
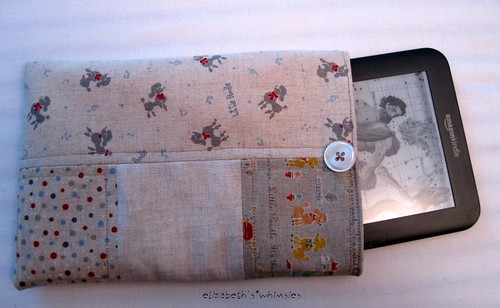
Your case is complete! Off you go, scratch free!
Edited to add (May 11, 2011): If you use this to pattern to sell Kindle covers on etsy or otherwise, a word of credit would be great. It has been brought to my attention that etsy is flooded with Kindle covers from my tutorial and I see none that have mentioned where the pattern was obtained. I don't mind, just please don't claim the credit for inventing the pattern yourself. Also, do not copy these directions, make them into a tutorial and sell the pattern on etsy. That's just lame, people.